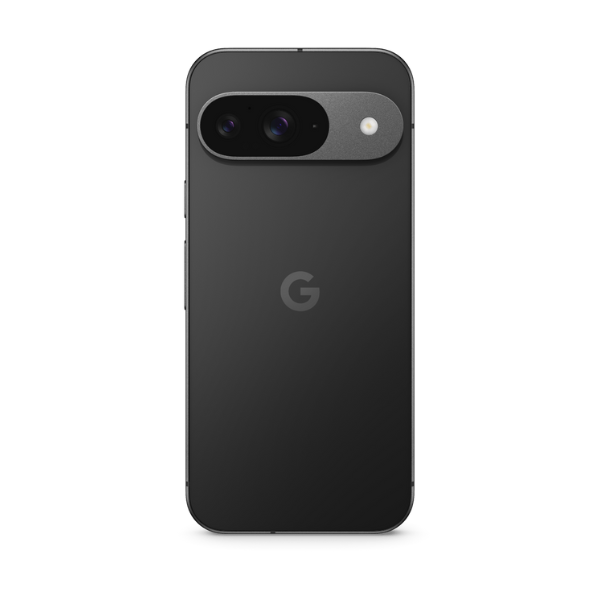
It is a smart idea for every individual who wants to simplify their mobile device setup process by converting the old physical SIM card into an eSIM. And if you have a Google Pixel series that supports it, then it's easier to switch to an eSIM. Switching to an eSIM will give you better flexibility, cost savings, and convenience in setting up the cellular network connection preferred by a user. In addition, you can add multiple lines to your device (up to a certain number according to the model) so that you are able to either separate your personal and work numbers or use the dual country phone in case of frequent travel. In this guide, we will show you the process of switching your SIM card to an eSIM on a Google Pixel device in stages. Let's begin!
Steps to Convert Your Physical SIM to eSIM on Google Pixel
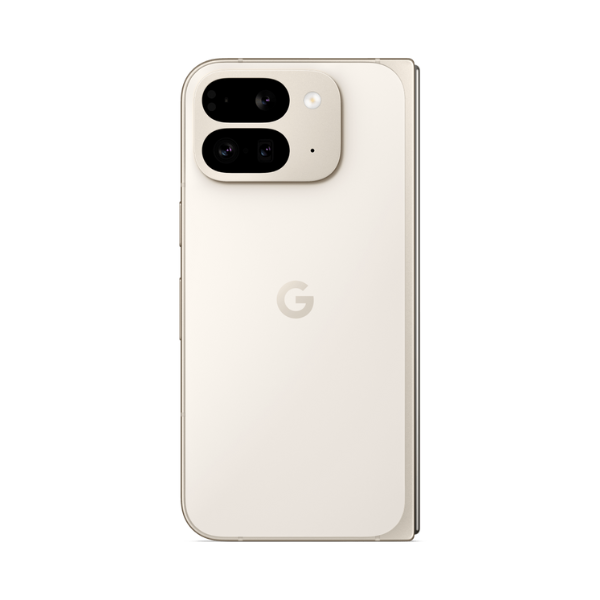
Google Pixel is an Android smartphone that embraces the eSIM technology. Notably, the eSIM is a digital SIM card that cannot be removed physically, unlike other physical counterparts. The eSIM technology is becoming widely used these days due to its convenience and suitability. If you want to convert your physical SIM to an eSIM on your Google Pixel, follow the steps below:
Step 1: Ensure that your service provider supports eSIM.
First, check whether your carrier supports eSIM technology before you try to enable it on the Google Pixel device. Inquire whether your carrier offers eSIMs. In Australia, some major carriers that support eSIMs are Telstra, Optus, and Vodafone.
Step 2: Obtain the QR code from your network provider.
After making sure that your carrier uses eSIM, you should obtain the QR code from it. The QR code includes the details needed to switch on eSIM in your Google Pixel. The QR code should be provided by your carrier either in person or through the online platform.
Step 3: Go to Settings
First, open the ‘Settings’ app on your Google Pixel phone to enable eSIM. You can find the settings app either in the app drawer or accessed through the quick settings menu by swiping down from the top of the screen.
Step 4: Select 'Network & internet'
From the Settings menu, move down and select 'Network & Internet.' This segment covers settings regarding how your network and internet services behave on your device.

Step 5: Find the 'SIMs' section
In the 'Network & internet’ settings, you will find a subsection labeled ‘SIMs.’ This section allows you to change your SIM cards and control their consumption of data.

Step 6: Choose 'Download a new eSIM'
To access the eSIM activation feature, tap ‘Download a new eSIM instead’ in 'SIMs'.

Step 7: Scan the QR code
The option ‘Download a SIM instead’ will make you scan your carrier-provided QR code. Scan the QR code using your phone’s camera by following the onscreen instructions.
Step 8: Confirm and activate eSIM
When you scan the QR code, Google Pixel will confirm your eSIM activation. After getting verified, you will need to confirm the activation before it becomes active. If you click 'Yes' to confirm the activation, it is done, and the eSIM will be available for use.
Check Out: Is Vodafone a Good Mobile Service Provider? Detailed Review!
Can I Activate an eSIM Alongside a Physical SIM Card in a Pixel Phone?
Yes, you can easily activate an eSIM alongside a physical SIM card in Pixel phones using the steps above. However, some carriers may not allow it or restrict this functionality. Instead, store multiple eSIM profiles and use one at a time.
What Are the Steps of the Esim Activation Code for Google Pixel?
You can also add an eSIM to your phone using the activation code provided by the carrier. In this case, use the guide till step 2, but instead of scanning the QR code, press "Use Activation Code" and enter your provider’s code to begin downloading eSIM.
List of Google Pixel Series That Support Esim
The following Google Pixel series support eSIM:
- Pixel 8 series
- Pixel 7 series
- Pixel 6 series
- Pixel 5 series
- Pixel 4 series
All the models of the above series allow you to use eSIM technology. The Pixel 3 series has some restrictions on using eSIM technology in different regions. It is better to check out the model details before buying one if you want to use eSIM technology in Google Pixel smartphones.

Check Out: A Comprehensive Guide to Recharge Lebara Mobile in 2024
Buy High-Quality Refurbished Google Pixel Series from Roobotech in Australia
Are you looking for premium refurbished gadgets in Australia? Search no more – because Roobotech is here. We provide the finest quality refurbished gadgets, including smartphones, tablets, and laptops. Our reliability and efficiency make us different from other refurbished sellers in Australia. By buying from us, you can be guaranteed a certified refurbished product that exceeds our standards.
We have a diverse collection of premium refurbished devices, including the Google Pixel series and many others. The Google Pixel series is known for its superior camera quality, a complete treatment of an Android system, and easy integration with Google services. Whatever your interests are – photography, workflow improvement, or just updating your Android phone with the novelties from the Google Pixel series, you will find an option there.
More importantly, you get a good product at a price significantly lower than it would cost to buy a new one. So, if you are interested in upgrading your computer at an affordable price, that is where we come into the picture. Now shop confidently with us to get the right refurbished device for you.
Conclusion
Lastly, switching from a physical SIM to an eSIM on your Google Pixel is a first step in the direction of modern convenience. With the help of this built-in feature in Pixel smartphones, you can easily fit into the world of eSIMs without worrying about managing physical cards. Although the specific steps can differ based on your provider and device type, it is a straightforward and easy-to-use process. Say goodbye to the old SIM card and hello to the new frontier of mobile technology with eSIM on Google Pixel – it’s simple, speedy, and so convenient!
Frequently Asked Question
Is eSIM activation dependent on the carrier?
Yes. eSIM activation is gradually becoming less complicated, but the process differs with respect to your phone and carrier.
Can I convert my physical SIM to eSIM on my own?
Yes, of course! It is very easy to convert a physical SIM into an eSIM owing to the steps above.
How can I turn on eSIM Google Pixel?
Once you do get to have a QR code for eSIM activation from your carrier, visit Settings > Network & internet > SIMs and tap Download A SIM instead, then follow the onscreen prompts in order to scan that generated QR and activate your e-sim.
Is eSIM better than physical?
Having an eSIM offers many benefits. It can't be physically damaged or lost because it's embedded inside devices. The eSIM is secure & can't be duplicated. Moreover, eSIM can store multiple cellular profiles, and if required, you can switch from one carrier to another. So it's up to you to decide which one to choose.
Is Google Pixel 7 eligible for eSIM?
Yes, the Pixel 7 series is eligible for eSIM.
Can you activate any eSIM in Google Pixel 2?
No. This variant does not let you install any eSIM besides the ones provided by Google Fi.
What is a Google Pixel DSDS service?
The Dual Standby feature means that two SIM cards can be activated simultaneously. When SIM 1 is turned on, the other is deactivated.


