The lens correction iPhone feature improves image quality by automatically fixing distortion in photos captured using wide-angle or ultra-wide lenses. Whether you use a powerful iPhone 14 Pro, a versatile iPhone 13, or even a compact iPhone SE, this feature helps deliver more natural looking images. It works by correcting the barrel distortion often visible in wide shots, making it ideal for landscape photography, architecture, and group selfies. To make the most of this feature, it is important to know how it works, which iPhone models support it, and how to enable or disable it in your iPhone camera settings.
What is Lens Correction on iPhone & What is Its Purpose?
The lens correction feature on iPhones uses a distortion correction algorithm to adjust photo edges and make them appear more aligned and natural. It mainly addresses barrel distortion, commonly referred to as the fisheye effect, especially when using the Ultra-Wide Lens or Front Camera.
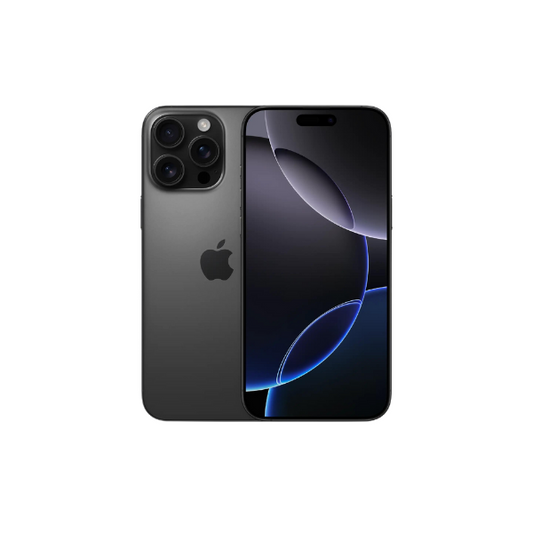
Modern iPhones, such as the iPhone 16 Pro Max or iPhone 13 Pro, apply this automatically through computational photography and the Image Signal Processor (ISP). This ensures that distortion is corrected in real-time or post capture, depending on the settings and shooting conditions.
Supported iPhone Models for Lens Correction
The lens correction feature is available on a range of iPhones that include wide or ultra-wide camera capabilities. These include the:
Compact iPhone SE (2nd/3rd Gen)
Latest iPhone 16 and upcoming iPhone models.
If you own one of these models, you can enable or disable this feature directly in your iOS Settings > Camera section. You can shop for these certified refurbished devices at Roobotech.
How to Enable or Disable Lens Correction?
Here is how you can turn the lens correction setting on or off in simple steps:
- First, open the Settings app from your home screen.
- Then scroll down the list and tap on the Camera option.
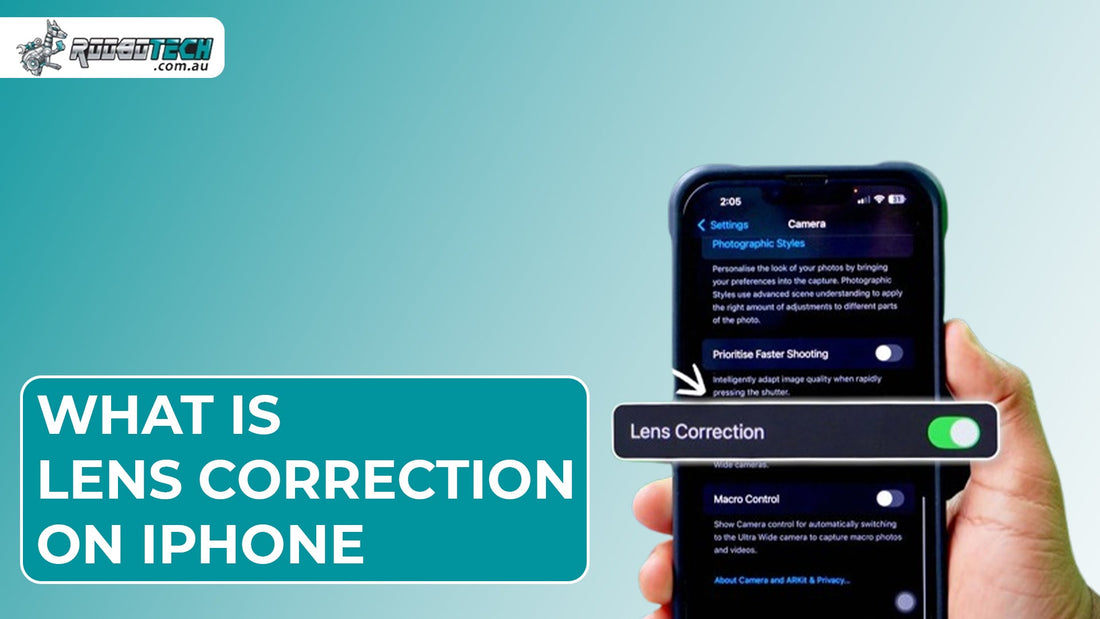
- Inside the camera settings, look for the Lens Correction option.
- Tap on it, and you will see a switch.
- Turn it ON if you want to fix distorted edges in wide photos, or turn it OFF if you prefer keeping the natural lens effect.
Users may want to disable it if they prefer unaltered wide-angle photos. Otherwise, keeping it ON helps most users achieve a more balanced image. For devices like the iPhone SE, the feature may only apply to the Front Camera / True Depth Camera, while on Pro models, it also works on the Ultra-Wide Lens.
Benefits of Using iPhone Lens Correction Feature
When the setting is turned on, the iPhone camera uses smart features like AI image processing and machine learning to automatically fix the edges of your photos. It helps reduce warping near the corners, makes straight lines like buildings look more natural, and removes strange curves in faces when using the front camera.
This results in cleaner, more realistic photos, especially when using wide or ultra-wide lenses. This is particularly useful in modes such as Cinematic Mode, Smart HDR, and Deep Fusion where edge sharpness and realism are essential.
How Lens Correction iPhone Is Different from Other Camera Settings
Users often confuse lens correction with other features. Here is a quick comparison with other iPhone camera features:
- Image Stabilization helps reduce blur in your photos caused by shaky hands or movement. It does not fix lens distortion or change the shape of what you are capturing.
- Photographic Styles let you adjust the color tone and warmth of your pictures. They are used for editing the look and mood but do not correct distorted angles.
- Format Settings (HEIF, JPEG, ProRAW) control how your photos are saved in the iPhone. These settings change the file type and quality, but they do not help with straightening curved or warped lines.
However, combining lens correction with grid lines, Night Mode, and LiDAR Scanner can result in balanced and distortion-free shots. Users may reset camera configurations anytime through Reset All Settings if any glitch occurs.
How iOS Updates Affect the Lens Correction iPhone Feature?
Lens correction became even better with the updates introduced in iOS 16 and iOS 17. These updates made the feature faster and more accurate when fixing distortion in real time. It also became more compatible with popular third party apps and worked more smoothly with smart camera tools like computational photography.
These improvements made sure users get sharper and more natural looking photos with less effort. If the iPhone camera is not working or the correction option is missing, consider updating your iOS or performing a settings reset. For serious issues, go for an iPhone camera repair service.
When Should You Turn Off Lens Correction on an iPhone?
While the lens correction feature is helpful in most cases, there are some situations where turning it off might be better. If you are trying to capture artistic shots or want to keep the natural wide-angle effect without any correction, disabling this setting can help.
It is also useful to turn it off when editing photos manually in apps like Lightroom, or when you are comparing how different apps process the same image. In these cases, having the raw, uncorrected version gives you more control.
How to Reset iPhone Camera Settings If Lens Correction Stops Working?
If the lens correction feature or any part of the iPhone camera is not working properly, you can try resetting your camera settings. To do this, open the Settings app, go to General, then choose Transfer or Reset iPhone. From there, tap Reset, and select Reset All Settings. This will not erase your photos or apps, but it can fix minor software glitches that may affect the camera features. If the issue persists, Apple Support or an Apple Genius Bar visit may be required.
Conclusion
The lens correction iPhone feature is a smart tool to enhance your everyday photography by fixing edge distortion automatically. It is available on several iPhone models and integrates seamlessly with Apple's camera innovations like Deep Fusion, Smart HDR, and ISP-powered corrections. Make sure your iPhone is updated and properly configured in the iOS Camera Settings to get the most out of this feature.
FAQs
Does lens correction work on all iPhones?
No, it only works on supported models such as the iPhone 12 series, iPhone 13, iPhone 14, and iPhone SE (2nd/3rd Gen).
Will turning off lens correction affect image quality?
It may result in visible distortion, especially on wide-angle shots taken with the Ultra-Wide Lens or Front Camera.
Can I use lens correction with third-party camera apps?
Yes, many apps support this through iOS integration, especially after iOS 16 / iOS 17 updates.
What if the lens correction setting is missing?
Make sure your iPhone model supports it and that your iOS is up to date. Try restarting or resetting settings if it still does not appear.
Does lens correction apply to videos as well?
Yes, it may apply subtly during Cinematic Mode or other video modes, depending on the camera and settings in use.


