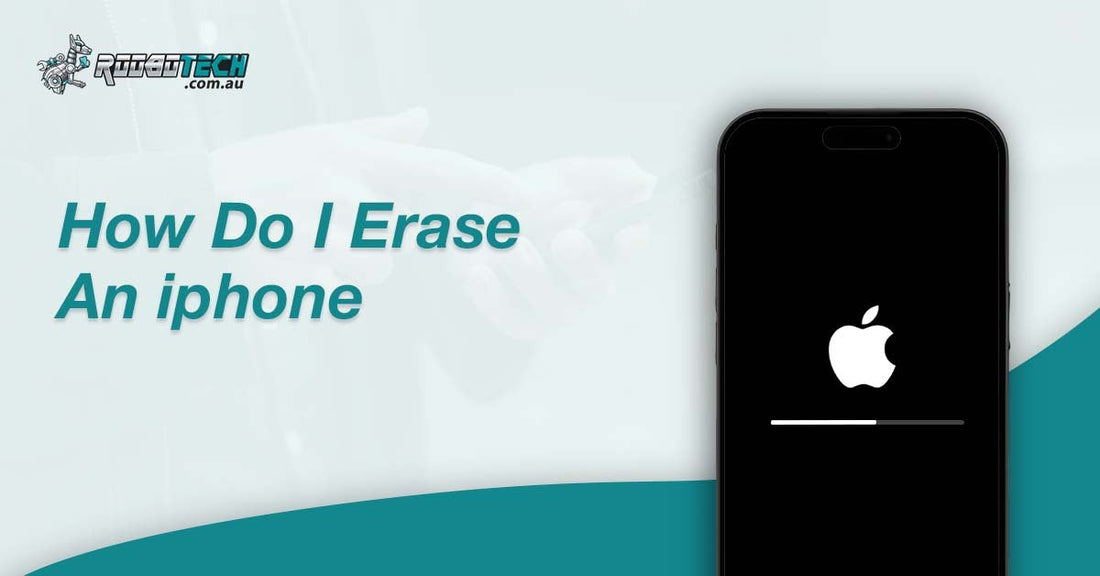
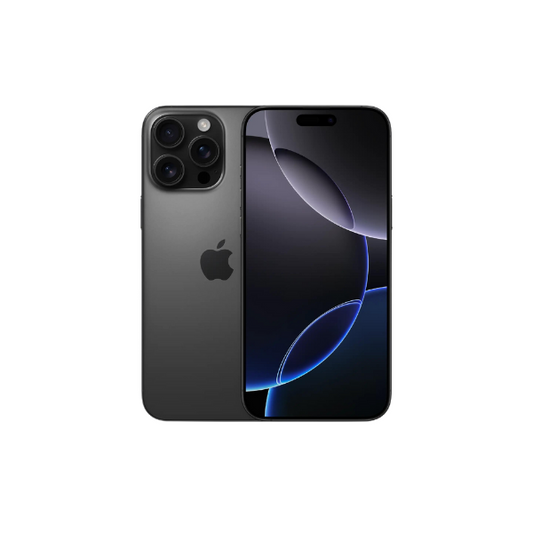
When planning to sell, trade in, or recycle your iPhone, it is important to remove all your personal information to protect your data privacy. Many users in Australia search for safe methods to erase iPhone data, reset iPhone settings, and prepare the device for a new owner. Whether you own the latest iPhone 15 or an older model, the process remains simple but must be done carefully. Let’s understand how to erase an iPhone completely, covering every method including iOS Settings, Recovery Mode, and Finder or iTunes.
Why Should You Erase Your iPhone Before Selling?
Erasing your iPhone ensures that your personal data, Apple ID, and iCloud are completely removed. If not erased properly, the new user may face Activation Lock issues, and your private data could remain at risk. A factory reset deletes everything securely, including:
-
Contacts and messages
-
Photos and videos
-
iCloud backups
- Apple Pay details
This protects your privacy and gives the new owner a clean start.
Backup Your iPhone Before Erasing
Before deleting everything, ensure that your important files are backed up. You can create an iCloud Backup or use iTunes / Finder on a MacBook or Windows laptop. This allows easy restore of contacts, photos, apps, and iCloud Keychain when you move to a new Apple device.
- iCloud Backup: Open Settings, tap your name, choose iCloud, then iCloud Backup, and press Back Up Now.
- Finder or iTunes Backup: Connect your iPhone to a MacBook or PC, open Finder or iTunes, select your phone, and click Back Up Now.
Sign Out of Apple ID and Remove iCloud Account
To make sure there is no Activation Lock on your device, you need to sign out of iCloud and remove the device from your Apple ID. Follow these steps:
- Go to the Settings app on your device.
- At the very top, tap your Apple ID / your name.
- Scroll to the bottom and select Sign Out.
- Type in your Apple ID password when asked. This step confirms that you are the owner of the account.
- Once you enter the password, Find My iPhone will be turned off.
- This step makes sure your device is no longer linked to your Apple account.
Unlinking the device from Find My iPhone ensures the next user can activate it without issues.
How to Erase iPhone Using iOS Settings
The simplest and most common way to erase your iPhone is by using the built-in iOS settings. This is the method Apple Support also recommends.
- Open Settings on your iPhone.
- Go to General, then tap Transfer or Reset iPhone.
- Select Erase All Content and Settings.
- Enter your passcode, PIN, Face ID, or Touch ID when asked.
- Confirm that you want to erase the device.
After these steps, your iPhone will return to factory settings. All your personal data, apps, and accounts will be removed, making the device ready for a new setup.
Erase iPhone Using Recovery Mode or DFU Mode
If your iPhone is locked or you cannot open the settings, you can erase it using Recovery Mode or DFU Mode. For this, you will need a MacBook (Finder) or a Windows PC (iTunes).
- Connect your iPhone to the computer. Use a USB cable to connect your iPhone to your MacBook or Windows PC.
- Open Finder or iTunes. On macOS Catalina or later, open Finder. And on Windows or older macOS, open iTunes.
- Force restart your iPhone by pressing and holding the Side button and a Volume button together until the Recovery Mode screen shows. It works for iPhone 11, 12, 13, 14, and 15.
- On your computer screen, you will see an option to Restore iPhone. Click it to erase the device completely.
This process performs a deep erase, also called a hard reset or master reset. It removes all data and settings from the iPhone so that it can be set up as a new device. If you are trying to solve problems or recover lost data, you can also use iPhone data recovery software for troubleshooting.
Secure Erase Before Selling, Trading, or Recycling
If you plan to sell, trade, or recycle your iPhone, it is important to erase it securely by following Apple’s official steps. This will protect your personal data and keep your accounts safe. A properly erased iPhone can be set up again, sold as a refurbished device, or sent for recycling without any risk to your information.
How to Erase Different iPhone Models Step by Step
The process of erasing an iPhone is almost the same for all models, but the way you enter Recovery Mode depends on the buttons your iPhone has. Newer iPhones use Face ID and volume buttons, while older ones still use the Home button. Below is a simple guide:
- iPhone 15, iPhone 14, iPhone 13, iPhone 12: These models do not have a Home button. To erase them, you need to use the Side button and the Volume buttons together to enter Recovery Mode.
- iPhone 11, iPhone X, iPhone SE (2nd Generation): These models work almost the same as the newer ones, but the button placement may be slightly different. You still need to use the Side button along with the correct Volume button to start Recovery Mode.
- Older Models (iPhone 7, iPhone 8, iPhone 6s): These phones have a physical Home button. To erase them, the Home button is used along with the Side or Top button to enter Recovery Mode.
By following these steps, you can erase any iPhone model properly. If you are looking to buy or replace a device, budget friendly iPhone X Series and iPhone SE models are available in Australia.
Extra Steps to Unlink Your Devices and Accounts
Before giving your iPhone to someone else, make sure it is fully unlinked from all your devices and accounts. Follow these steps carefully:
- Unpair Apple Watch: If you have an Apple Watch connected to your iPhone, unpair it so it works independently or can be paired with a new iPhone.
- Turn Off iMessage and FaceTime: Go to Settings and sign out of iMessage and FaceTime. This ensures your messages and calls do not appear on the old device.
- Remove iPhone from iCloud.com: Sign in to iCloud.com, open the list of devices, and remove the iPhone from your account. This stops it from being linked to your Apple ID.
- Sign Out of All Accounts: Check and sign out from email accounts, social media apps, or any other accounts linked to your iPhone.
By completing these steps, your iPhone will be safely disconnected from everything, and your personal data will stay secure. This prevents accidental sharing of data across devices like iPad or MacBook Air.
Conclusion
Erasing an iPhone is essential before it is sold, traded, or recycled. By backing up data, signing out of iCloud, and using the correct erase method through settings or Recovery Mode, you ensure that your personal information remains secure. Whether you have the latest iPhone 15 or an older iPhone 7, following Apple’s instructions helps prepare the device for a smooth transition to its next user.
FAQs
How do I erase an iPhone without an Apple ID?
You can reset it using Recovery Mode or DFU Mode through iTunes/Finder. But keep in mind, if Activation Lock is on, you will still need the original Apple ID to use the phone.
Will erasing the iPhone remove iCloud?
Yes, if you sign out of iCloud first, the account is removed. If you do not, the iPhone will still stay linked to that iCloud account.
Can I erase my iPhone remotely?
Yes, you can. Just log in to iCloud.com, go to Find My iPhone, select your device, and choose “Erase iPhone” to wipe it from anywhere.
How long does it take to erase an iPhone?
Usually, it only takes a few minutes. If your phone has a lot of apps, photos, or files, the erasing process can take a little longer.
Is factory reset the same as erasing an iPhone?
Yes, both mean wiping everything from the phone. After a factory reset, the iPhone goes back to its original out-of-box condition.


